Making the decision as a couple means weighing thrill against convenience. This short guide helps you judge whether a shared project meets your household needs over the next few years.
Think about three clear options: a DIY build, a ready machine from Best Buy, or a custom pre-built from iBuyPower or CyberPowerPC. Each route has trade-offs in cost, compatibility checks, and assembly time.
Many expect savings from assembling parts. Reality shows value often lies in the hands-on experience, the control you gain, and that electric thrill when the system boots first time.
Also accept the flip side. A dead boot can turn an evening into a troubleshooting session. Plan for tools, thermal paste, anti-static gear, and patience.
We will offer a clear pros and cons analysis covering money, time, tools, pitfalls, and alternatives. The aim is a reliable machine that suits your shared play style and life.
What this pros and cons analysis covers for couples thinking of building now
This guide maps the realistic choices couples face when deciding whether to assemble a system together, pick a pre‑built from Best Buy, or order a custom pre‑built from a specialist.
Scope: we cover budgeting, choosing parts, and how much time you should expect to set aside for assembly and testing. You will see common issues and the typical problem patterns that first‑timers hit.
Criteria you need to know before you commit include your combined appetite to learn, comfort handling components, and the reliability you expect from the system. We also flag headroom for future upgrades.
We use example steps and brand names, suggest tools and PCPartPicker checks, and list a practical checklist of parts and tools. The options are compared side‑by‑side so you can judge cost, warranty, and effort.
- Hands‑on route: full parts list, step‑by‑step assembly.
- Retail pre‑built: quick setup with warranty from Best Buy.
- Custom pre‑built: tailored components with pro assembly.
By the end you will have a clear decision path that matches your specific needs without surprises.
The upsides of building together: control, learning, and long-term flexibility
Choosing components together lets you tailor features to how you live and play. Control matters: you pick the motherboard with the right VRM, the CPU class that suits performance needs, and a PSU with the correct wattage and efficiency.
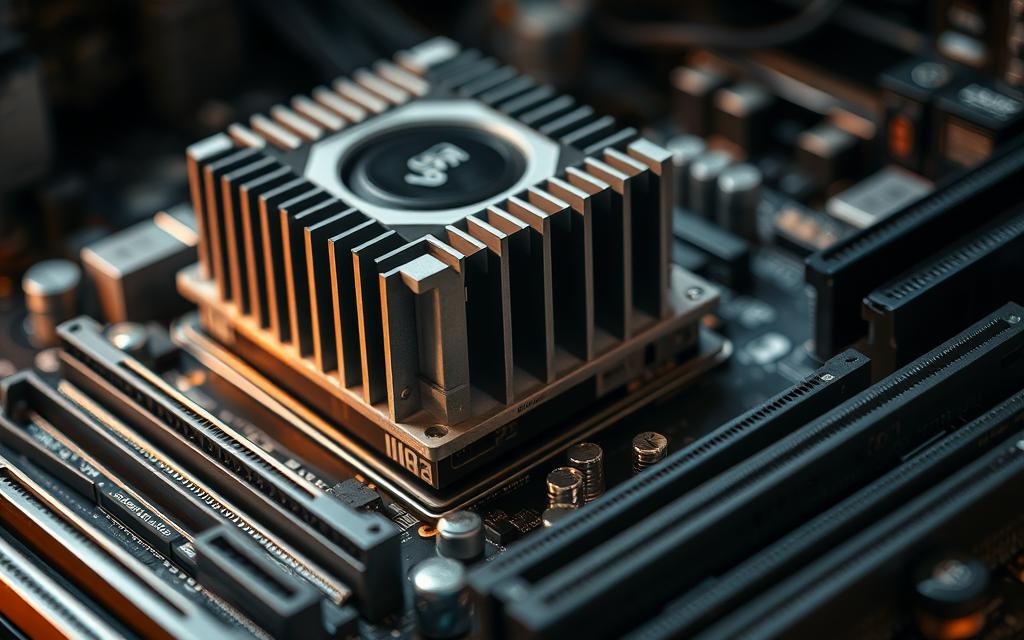
Total control over parts and features
Exactly want outcomes are possible. Select a board with Wi‑Fi 6E or one focused on wired reliability. Choose USB‑C front‑panel support, ARGB, or a quiet power supply to match your room and taste.
Skills and experience gained
Handling components safely, applying thermal paste, and tidying cables teaches useful skills. Setting XMP/EXPO in the motherboard BIOS or seating a cpu and cooler builds confidence.
Easier future upgrades
When you know every screw and connector, upgrades in later years are straightforward. Swapping storage, upgrading a gpu, or replacing a cpu becomes a predictable part of ownership, saving time and money.
“Researching parts and assembling the system brings great satisfaction and makes troubleshooting simpler.”
- Checklist: case, CPU, cooler, motherboard, RAM, storage, GPU, PSU, thermal paste, screwdriver, anti‑static strap.
- Use PCPartPicker to verify compatibility before you buy.
- Divide tasks: one person handles parts research, the other focuses on layout and cable management.
The downsides to weigh: time, troubleshooting, and first‑time risks
Before you start, recognise that a single evening can stretch into a long troubleshooting session. A DIY attempt demands concentrated time and focus; the first session often runs hours longer than you expect.
Time investment and focus
Be candid: a first time build needs patience, steady reading of manuals, and discipline to pause before you press power. Small tasks add up — cable routing and verification take real minutes.
Common issues and static risks
Typical issues that halt a first boot include mis‑seated RAM, forgotten CPU power, or motherboard standoffs shorting the case. Static can silently damage components, so use an anti‑static strap or touch grounded metal.
| Issue | Symptom | Quick fix |
|---|---|---|
| Mis‑seated RAM | No POST, beeps | Reseat sticks, try single slot |
| Forgotten power cable | No fans, no lights | Connect CPU/board connectors firmly |
| Shorted case standoff | Random reboots or failure | Inspect standoffs, remount board |
“Buying a few small tools and checking connections slowly prevents the worst evening‑long problems.”
Hidden needs matter: a good screwdriver, a flashlight, zip ties, thermal paste if none is pre‑applied, an anti‑static strap, and the right tools. If you prefer playing over diagnosing POST beeps, a retail or custom pre‑assembled path may suit you better.
Cost realities in 2025: parts vs pre‑built vs custom pre‑built
Sticker price rarely tells the whole story; total every extra part, licence, and tool before you declare a saving.
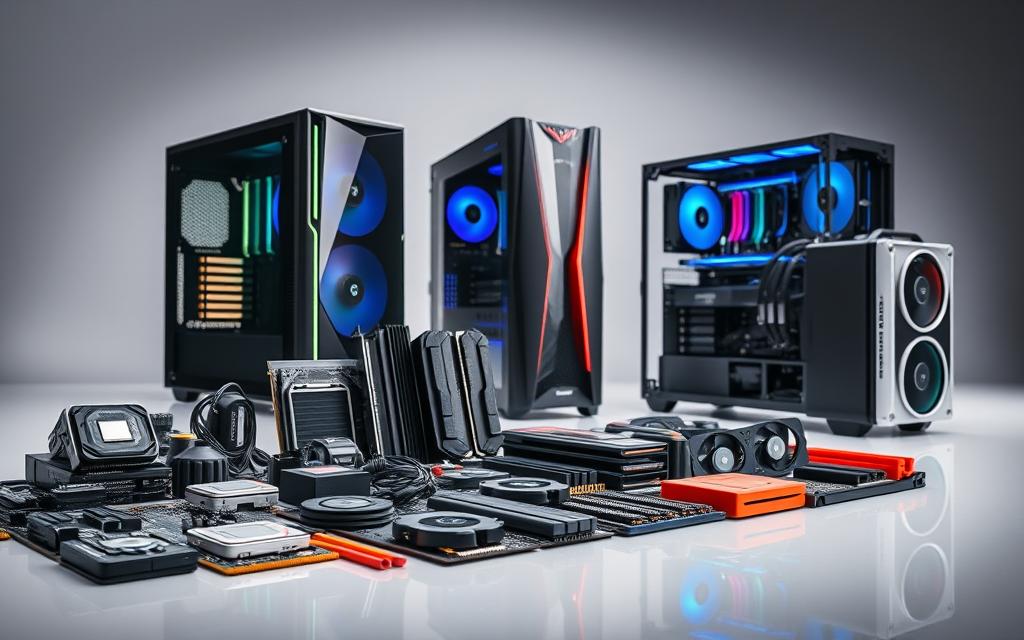
Why DIY savings aren’t guaranteed. Market swings, shipping, and bundled deals can erase margins. Small buys — thermal paste, an anti‑static strap, a screwdriver — add up. Factor your time and test hours too.
When a shop pre‑built from Best Buy makes sense
A ready system can deliver instant use, single‑vendor warranty, and easy returns. If you need a machine quickly, dislike troubleshooting, or find a solid sale, a retail pre‑built one is a sensible choice.
Custom pre‑built via iBuyPower or CyberPowerPC
These services let you select the exact parts mix while pros assemble, cable‑manage, and test the system before shipping. Configurators flag fit issues, such as GPU length vs case, and suggest PSU upgrades.
- Budget checklist: case, CPU, cooler, motherboard, RAM, storage, GPU, PSU, thermal paste, monitor, mouse, keyboard, Windows licence, and a basic tool kit.
- Finance option: Affirm or similar can spread cost; one buyer paid about $189 extra to finance a $2,324 order over 12 months.
- Compare side‑by‑side: price identical parts and pre‑built systems, include software and tools, then choose the best value for your household.
“Price is only one factor — delivery, warranty, return terms, and peace of mind matter just as much.”
If you want a quick primer on whether the DIY route will actually save cash, see a practical comparison here: is it cheaper to build a.
Windows and operating system choices that impact your daily gaming experience
Which operating system you run affects game compatibility, patience with updates, and daily productivity.
Many couples default to Windows because of a wide game catalogue and strong driver support. Long‑time Windows users with IT experience report random app errors, BSODs, sudden restarts, dropped network links and ongoing malware risk. These issues can interrupt a play session or business task.
Practical fixes include replacing weak built‑in tools with Listary for quick launching, Everything for instant file search, and XYplorer as a robust dual‑pane file manager. Some users remove Copilot from Notepad and Mail to reduce background load and clutter.
WSL lets you run many Linux utilities inside Windows, so you can keep a familiar gaming setup while using Linux tooling for development or scripting. Try Mint or Zorin on a spare drive or via dual‑boot to sample a different desktop without losing your main system.
Tune power and update settings to avoid mid‑session restarts, keep drivers clean, and maintain restore points. A minimal startup profile stabilises the machine before a long weekend of play or work.
Conclusion: Windows remains the pragmatic baseline for most households, but knowing these tools and options helps you balance leisure, business and daily life.
Planning your build the smart way: compatibility, tools, and first‑time guidance
Start with a clear plan that reduces guesswork. Lay out parts and tools before you buy, and schedule one calm session for assembly. A small checklist and a structured approach cut the chance of a frustrating first boot.
Use PCPartPicker to compile your list of parts and components. It flags clashes such as a tall air cooler that won’t clear your case side panel or a GPU that exceeds case length. That early check saves returns and wasted time.
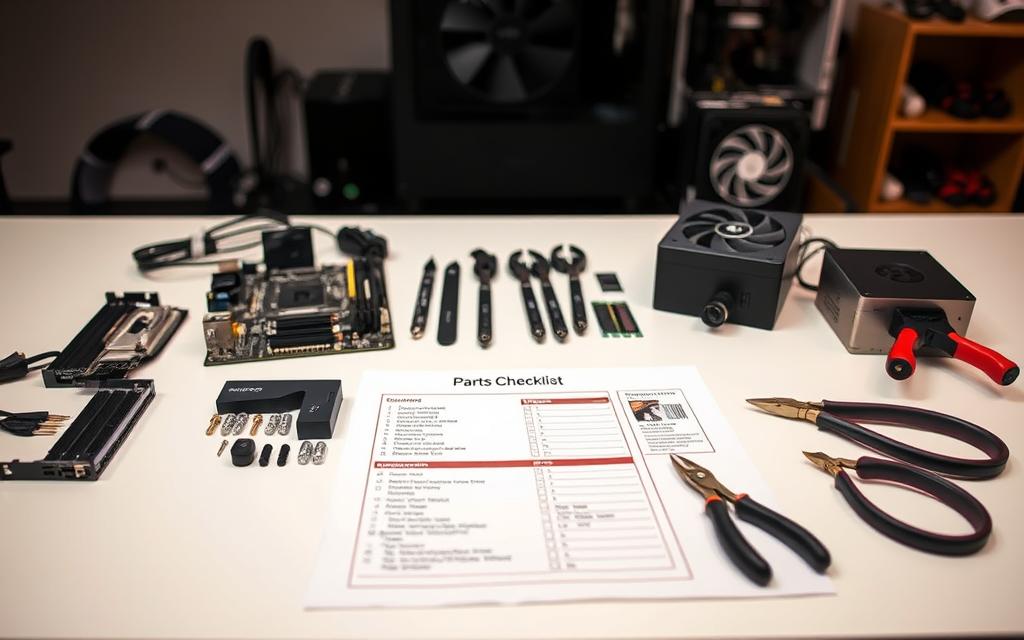
Practical steps to follow
- Read the motherboard and case manuals to mark front‑panel pinouts, cooler mounts and preferred M.2 slots.
- Pick a power supply with headroom for your cpu and gpu, and verify cable reach inside your chosen case.
- Queue a step‑by‑step video from ECPU or PC Centric and follow the same order: cpu and RAM on the motherboard outside the case, cooler, test POST, then final install.
- Lay out tools: Phillips screwdriver, flashlight, thermal paste, anti‑static strap and zip ties so you keep momentum.
- Dry‑fit large components to confirm cable paths and airflow before final assembly.
“Invite a trusted friend for a sanity check on tricky tasks like cooler mounting or front‑panel headers.”
| Task | Why it matters | Quick tip |
|---|---|---|
| PCPartPicker list | Avoids size and slot conflicts | Verify GPU length vs case |
| Manual review | Shows pinouts and lane sharing | Mark M.2 slot priorities for boot drive |
| Tool layout | Prevents hunting during assembly | Keep thermal paste and strap nearby |
| Dry‑fit | Confirms cable reach and airflow | Close panels briefly to test clearance |
Final note: static safety and order of operations matter. Apply the cpu carefully, use an anti‑static strap, and tighten cooler screws in a cross pattern to avoid bending the motherboard. These small steps stop a common problem before it starts.
Decision framework for couples: specific needs, budget, time and the best way forward
Start by listing what you both actually need from the machine over the next few years. Agree target frame rates, the work apps the computer must handle, expected lifespan in years, and noise or size limits for shared spaces.
Map your specific needs: note games you play, creative or office work, storage and upgrade plans. That clarity narrows parts choices and the total budget you should set aside.
Choose the right path
If you value control and hands‑on knowledge and can spare time, a DIY build rewards you with tailored parts and deeper system understanding.
If you want simplicity and a fast setup, buy pre‑built or select a pre‑built one from a retailer. This reduces hassle and gives a single warranty contact.
Consider a hybrid: custom pre‑built services let you pick key parts while experts assemble and test. This often hits the sweet spot for busy couples; financing options can smooth large orders.
- Room and noise: prioritise quiet fans and efficient power for shared living areas.
- Divide tasks: research, ordering, assembly, cable management and software setup so each contributes.
- Total cost: include licence, accessories, delivery and any finance fees when you compare quotes.
“Shortlist two or three configurations, price them across DIY, retailer and custom providers, then choose the one that best balances performance, control and effort.”

Conclusion
Decide which path matches your household tempo and long‑term plans. Choose the option that meets your needs over the next few years, and pick a system that balances daily use with upgrade headroom.
If quick setup matters, a pre‑built or custom service gives instant play while saving time. If you prefer learning and control, assemble key parts later and treat the project as a shared course in hardware. Remember that Windows often suits everyday play and broad compatibility.
Final thing: list required items, set a budget, agree roles, then select the route that keeps both of you playing comfortably. Revisit the decision as prices or new releases change, and enjoy the process together whether you pick one ready system or plan gradual upgrades to your pcs.
FAQ
Should two people tackle a build together or buy a pre‑built machine?
Building together gives complete control over parts, cooling and future upgrades, and teaches useful skills like cable management and BIOS setup. A pre‑built from a reputable retailer such as Best Buy or a custom pre‑built from specialists like iBuyPower or CyberPowerPC saves time, reduces first‑time risk and often includes warranty support. Choose based on budget, time and how much you want hands‑on experience.
How much time does a first‑time assembly typically take?
Expect several hours for your first build: unpacking parts, reading manuals, installing CPU, cooler, RAM, M.2 and SATA drives, mounting the motherboard and routing cables. Watching a step‑by‑step video and working methodically will speed the process. Later upgrades usually take far less time.
What are the most common problems new builders face?
Typical issues include compatibility mismatches, incorrect front‑panel connections, boot failures, BIOS settings, cable management constraints and static damage. A power supply with the right connectors and checking part compatibility on PCPartPicker prevents many headaches.
Are there hidden tools or consumables I need to buy?
Yes. Basic tools include a magnetic screwdriver, cable ties, and an anti‑static wrist strap. Thermal paste often comes with coolers, but you may want a high‑quality syringe. A torch and small pliers help with tight spaces. Have spare case screws and a USB stick for BIOS updates.
Will building save money compared with a pre‑built in 2025?
Not always. Component prices, shipping and occasional incompatibilities can reduce savings. You can save by reusing parts or shopping sales, but pre‑builts sometimes offer competitive pricing, bundles and warranties that offset hands‑on costs. Compare total cost and value, not just headline prices.
When does buying a pre‑built from Best Buy make sense?
Choose a Best Buy pre‑built if you value fast delivery, in‑store returns, local warranty support and minimal setup. It’s sensible when you’re short on time, uncomfortable with assembly or need a simple warranty route without parts‑level troubleshooting.
What benefits do custom pre‑builts from iBuyPower or CyberPowerPC offer?
They combine bespoke parts selection with professional assembly and often offer financing, extended warranties and tested configurations. That route suits people who want specific components but prefer expert installation and vendor support.
Which operating system should we use for dual‑purpose gaming and work?
Windows remains the primary choice for the broadest game compatibility and peripheral support. For productivity, consider a dual‑boot or WSL setup to run Linux tools alongside Windows. If you prefer Linux, distributions such as Zorin or Mint provide easier desktop transitions but may limit some titles.
How do Windows issues like BSODs affect gameplay and productivity?
Blue screens and driver errors can interrupt sessions and work. Regular driver updates, stable power, correct BIOS settings and reliable storage reduce risk. Keep system restore points and backups to recover quickly from faults.
What utility tools help manage files and speed up workflows?
Third‑party utilities such as Everything, Listary and XYplorer speed file search and organisation. For developers and power users, WSL integrates Linux tooling with Windows, while dedicated launchers streamline daily tasks.
How do we plan a build to avoid compatibility and size problems?
Use PCPartPicker to check compatibility, clearances and PSU needs. Verify GPU length and cooler height against case specs, confirm motherboard form factor fits the case and ensure the power supply has required connectors. Measure available space and double‑check M.2 slot placements.
Should we follow a video tutorial or read manuals first?
Do both. Watch a reputable step‑by‑step video to visualise the process, then read the motherboard and case manuals for model‑specific guidance. Pausing frequently and following the manual reduces mistakes and improves cable routing.
How should couples decide between building themselves, buying new or choosing custom pre‑built?
Map needs and priorities: game types, streaming, work tasks, upgrade plans, budget and available time. If you want full control and learning, build together. If you need quick, supported purchase with minimal fuss, buy a pre‑built. If you want tailored parts with professional assembly, pick a custom pre‑built provider.
What lifespan and upgrade path should we expect?
A well‑chosen system typically serves 4–6 years for mainstream gaming before major upgrades. Selecting a motherboard with a modern socket, a flexible PSU and extra RAM slots extends longevity and simplifies future component swaps.
Are there safety precautions we must follow during assembly?
Use an anti‑static wrist strap or frequently ground yourself, work on a non‑conductive surface, keep liquids away and avoid forcing connectors. Handle the CPU and GPU by their edges and follow torque‑light screw fitting to prevent damage.
How much technical knowledge is required to start?
Basic comfort with electronics, following instructions and using simple tools is sufficient. Many first‑time builders succeed by preparing thoroughly, using PCPartPicker checks, following tutorials and asking for help from experienced friends or forums.
Can we save time by buying some parts pre‑assembled or using services?
Yes. Some retailers offer assembly services for a fee. You can also buy pre‑built cases with preinstalled power supplies or cooling. These hybrid options cut assembly time while retaining partial customisation.
Which brands are reliable for key components like CPU, GPU, motherboard and PSU?
For CPUs, consider Intel and AMD; for GPUs, NVIDIA and AMD. Trusted motherboard makers include ASUS, MSI and Gigabyte. For PSUs, choose models from Seasonic, Corsair and EVGA with appropriate efficiency ratings and wattage headroom.
Is thermal paste essential, and can we reuse old paste?
Thermal paste is essential for efficient heat transfer between CPU and cooler. Many coolers include paste, but a fresh application is best. Avoid reusing old paste when changing coolers or CPUs; clean surfaces with isopropyl alcohol first.
Where can we find reliable step‑by‑step guides and community support?
Use official manuals, reputable YouTube channels, communities on Reddit (r/buildapc), Tom’s Hardware and manufacturer support pages. Forums and local tech stores can provide hands‑on advice and troubleshooting help.


